|
<< Click to Display Table of Contents >> Selection... |
  
|
|
<< Click to Display Table of Contents >> Selection... |
|
When you click the Selection... button in the Appearance section, a separate dialogue box is displayed in which you can change the appearance of the boundary box that you are working with, whether you are creating a new or editing an existing one.

Figure 903: Dialogue box for selection of general appearance
In the Frame section of the diaogue, you have a number of radio buttons available to decide what line type to use for the box itself. Either it can be the standardised dashed line, or it can be a continuous line. Several other variants are also available, where only parts of the box are visible. The alternatives are described in the table below.
Option |
Description |
Appearance |
|---|---|---|
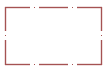
Boundary |
Dash-dot rectangle
|
|
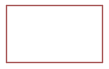
Continuous |
Continuous rectangle
|
|
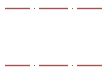
Row |
Dash-dot rectangle, open in both left and right side
|
|
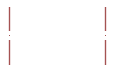
Column |
Dash-dot rectangle, open in both upper and lower side
|
|
Invisible |
The Invisible option creates a rectangle where all sides are open, without any visible lines. (However, a complete rectangle is drawn in the SYM_L layer, where the designer clearly can see it. This layer is turned off when plotting). |
|
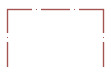
Open bottom |
Dash-dot rectangle, open in the bottom
|
|
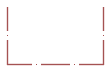
Open top |
Dash-dot rectangle, open in the top
|
|
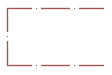
Open right |
Dash-dot rectangle, open to the right
|
|
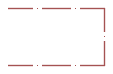
Open left |
Dash-dot rectangle, open to the left
|
|
There are also three buttons available in the dialogue. Those buttons are explained in the sub-topics that are listed below.
•OK