|
<< Click to Display Table of Contents >> The Boundary box macro |
  
|
|
<< Click to Display Table of Contents >> The Boundary box macro |
  
|

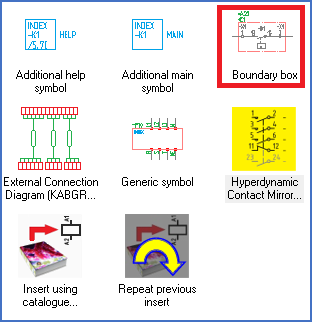
Figure 883: The "Boundary box" command
When you select the Boundary box macro shown in the figure above, a special dialogue box for boundary boxes appears, as shown in the figure below.

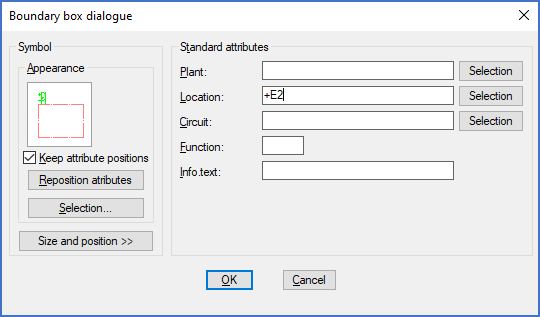
Figure 884: The “Boundary box dialogue”
In this dialogue, you can specify function, location, product, and an informative text. It is also possible to control the appearance of the boundary box, using the same dialogue.
Please refer to the Boundary box dialogue sub-topic for a detailed description of all options in the dialogue.
After you have specified for instance location and informative text in the dialogue box, and you feel confident with the input you have made, you click OK.
You will then have to point out the lower left, and the upper right corner of the boundary box. In doing so, you specify both the size and the position of the boundary box with two single clicks.
You will thereafter receive a question whether you have pointed correctly. Answer Yes. (If you answer No, you can click again).
The boundary box will appear with the attributes like function, location and informative text in their standard positions.
The boundary box is then ready.
A detailed description of the Boundary box dialogue is found in the sub-topic that is listed below.