|
<< Click to Display Table of Contents >> Lock selected |
  
|
|
<< Click to Display Table of Contents >> Lock selected |
  
|
With this command, you can select specific wires and lock the wire-numbers of them, so that they are protected from any renumbering that might take place afterwards.
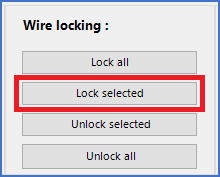
The Lock selected command is activated using a button in the Wire locking section, as shown in the figure below.

Figure 2132: The "Lock selected" button
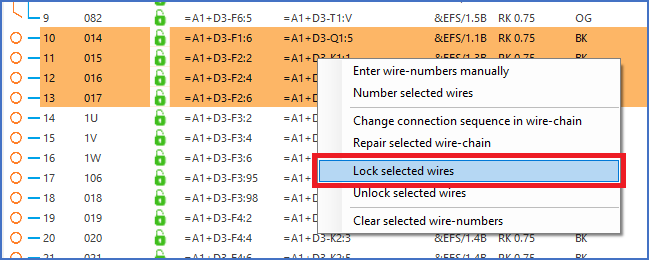
An alternative way of activating the same command, is with the context menu of the wire-list.
First, you must select the wires that you want to lock. You do that in the ordinary Windows way, using the <SHIFT> and <CTRL> keys.
Then, you can either click the Lock selected button, as shown in the figure above, or right-click the selection and activate the Lock selected wires command in the context menu that is displayed, as shown in the figure below.

Figure 2133: Right-click the wires that you have selected, and then activate the "Lock selected wires" command, as shown here.
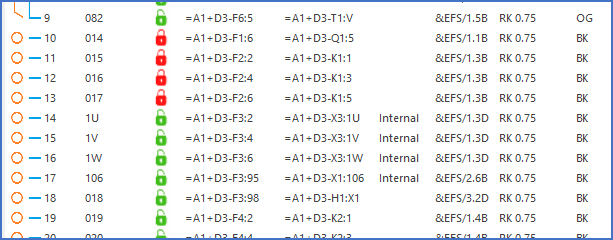
The selected wires are then immediately locked, which is shown with red lock icons in the Status column, as shown in the figure below.

Figure 2134: The selected wires have been locked.