|
<< Click to Display Table of Contents >> Example 3: 3-phase vertical symbol |
  
|
|
<< Click to Display Table of Contents >> Example 3: 3-phase vertical symbol |
  
|
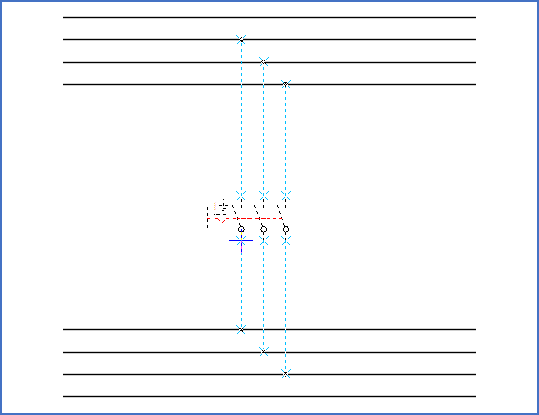
The example which is presented in the four figures below, shows how AutoLine treats a vertical 3-phase symbol which is inserted where there are four horizontal lines both below and above.

Figure 1012: A 3-phase symbol (a ground-fault interrupter) will be inserted here.
The figure below shows the default situation, which occurs directly when you move the cursor to the intended position for the symbol. Please note that AutoLine selects the first possible connections counted from the symbol and outwards.

Figure 1013: By default, AutoLine will connect to the closest lines. In this case, the default is probably correct on the lower side, but incorrect on the upper (if we assume that the four lines are L1, L2, L3, and PEN, counted from the top).
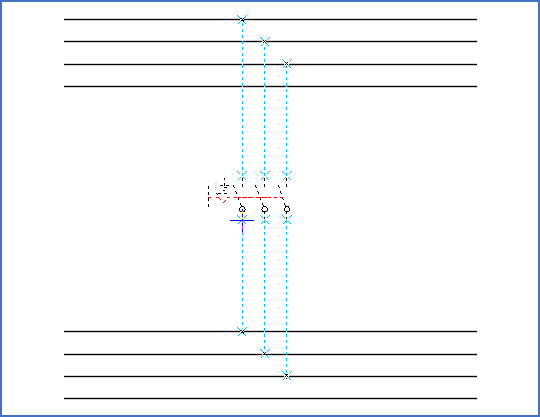
In the figure below, the lines on the upper side have been adjusted so that they connect in the second possible way, instead of the first. To move the connections upwards in this way, you can use the <Up_arrow>. To move them down, you can use <SHIFT_Down_arrow>.
<Down_arrow> and <SHIFT_Down_arrow> are used in the same way, but for the lines on the lower side of the symbol.
For horizontal symbols, you would be using <Left_arrow> and <Right_arrow> in a similar way.

Figure 1014: The lines on the upper side can be moved one step using the <Up_arrow> key.
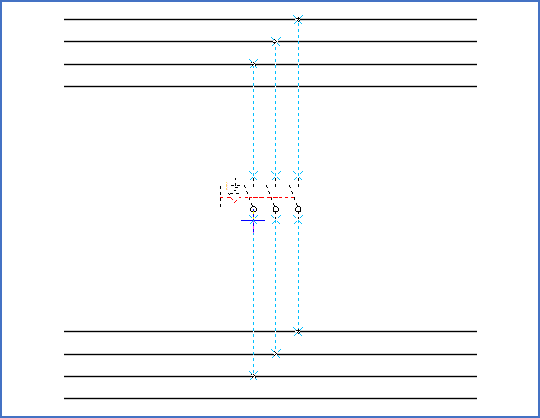
The default connection sequence is from left to right, from top down. If you would like to reverse that, you accomplish that with the <TAB> key, as shown in the figure below.

Figure 1015: Using the <TAB> key, the connection sequence can be reversed.
Please refer to the Keyboard commands topic for a complete list of all available keyboard commands for the AutoLine feature.