|
<< Click to Display Table of Contents >> AUTO-HIDE mode |
  
|
|
<< Click to Display Table of Contents >> AUTO-HIDE mode |
  
|
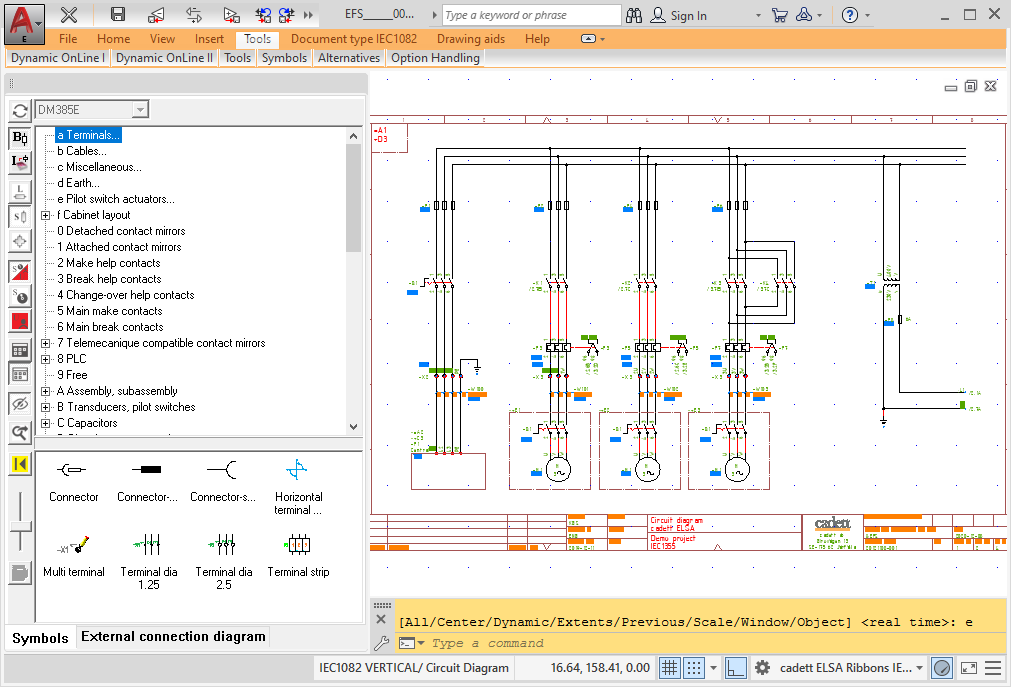
If you are using a low resolution monitor, perhaps on a lap top computer, you might not have room for the Symbol Insert Tool. At least, it might occupy an annoyingly large portion of the screen.

Figure 1091: In a low resolution environment like this one, the Symbol Insert Tool occupies an unproportionally large part of the available screen area.
The AUTO-HIDE mode will come to your rescue in that situation, since it allows the Symbol Insert Tool to effectively share the same part of the screen as the entire Drawing Environment.
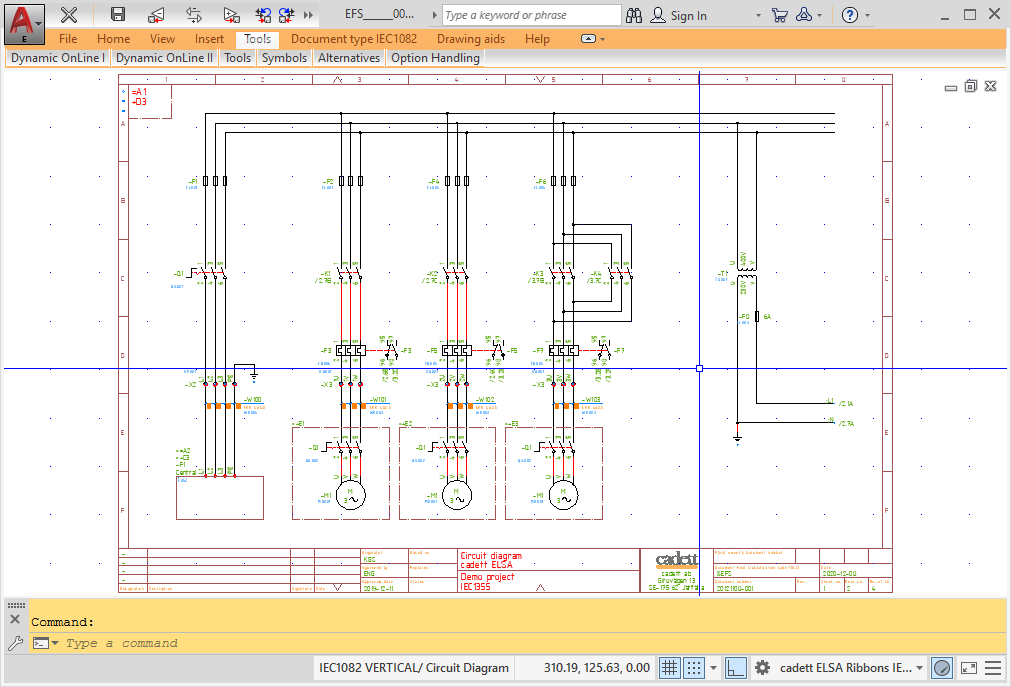
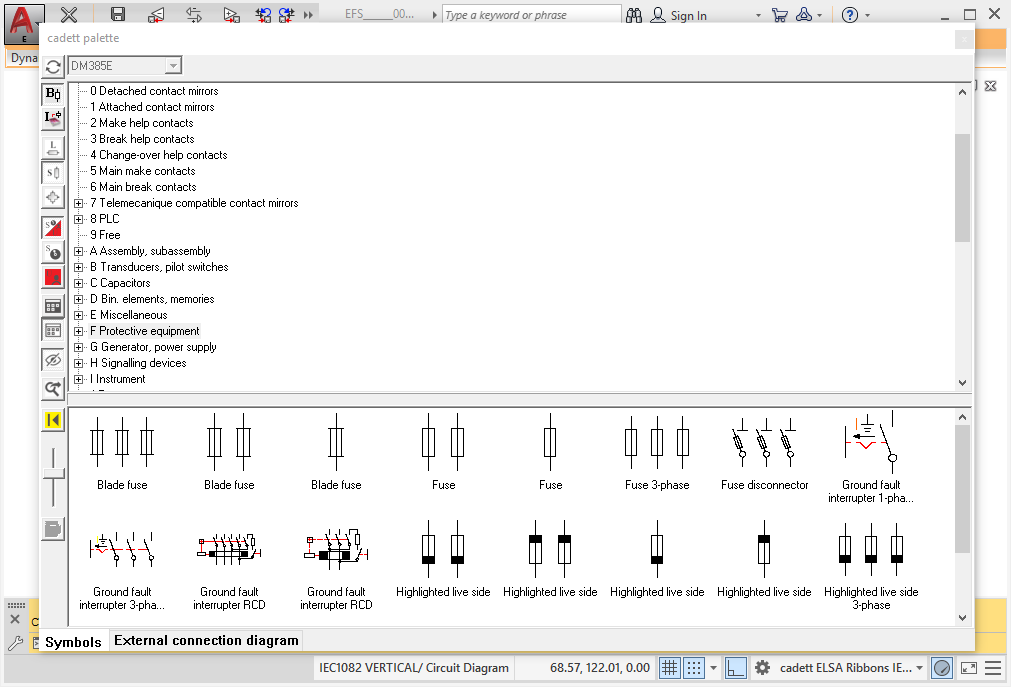
The basic principle behind this, is that the Symbol Insert Tool is displayed only when inserting symbols. As soon as a symbol has been inserted, the tool is automatically hidden, to return only when the next symbol is to be inserted.

Figure 1092: With the Symbol Insert Tool out of the way, almost the entire screen is available for the drawing area.

Figure 1093: The Symbol Insert Tool is displayed on top the drawing area whenever it is needed.
Using AUTO-HIDE mode requires a few simple preparations. When those are done, you can start using this neat feature. Please refer to the two sub-topics that are listed below.
You can take AUTO-HIDE mode one step further, to save one click for each symbol insert. That is described in the sub-topic listed below.