|
<< Click to Display Table of Contents >> Apply |
  
|
|
<< Click to Display Table of Contents >> Apply |
  
|
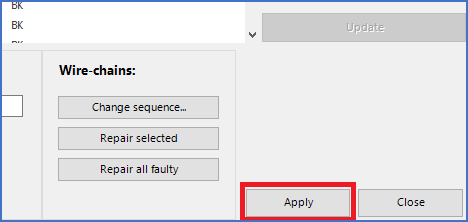
When you are satisfied with any changes that you might have made in the wire-list, like wire-numbering, connection sequence, and wire properties, you can choose to transfer these changes to the circuit diagrams. You do that using the Apply button, which is placed in the lower right corner of the Wire-list Editor main dialogue.
The wire properties including wire-numbers will then be inserted in all affected drawing sheets of the entire project, thus storing both the wiring and the numbering, for future use and reference.
Regardless if you want to show the wire-numbers in the circuit diagram or not, you should always store them there. If they are not saved, you cannot edit them later.

Figure 2178: The "Apply" button is used to transfer the changes that you have made in the wire-list to the circuit diagrams.
It can be noted here, that all properties except wire-numbers themselves are placed in a hidden layer, the HIDE layer, which normally is both off and frozen, meaning that the content of it is not shown.
A special case however, is if the property in question is defined in a Property symbol. In that case, provided that all wires affected by that property symbol have been selected, the Property symbol will be updated, which will make the change directly visible in the circuit diagrams.
(If some but not all affected wires are selected, the Property symbol cannot be updated, since wires that are not selected would otherwise be affected, which was of course not intended).