|
<< Click to Display Table of Contents >> Select/add EZP files |
  
|
|
<< Click to Display Table of Contents >> Select/add EZP files |
  
|
To add EZP files to the List of selected EZP files, you first click the Select/add EZP files button.

Figure 179: The "Select/add EZP files" button is located in the upper left corner of the dialogue box.
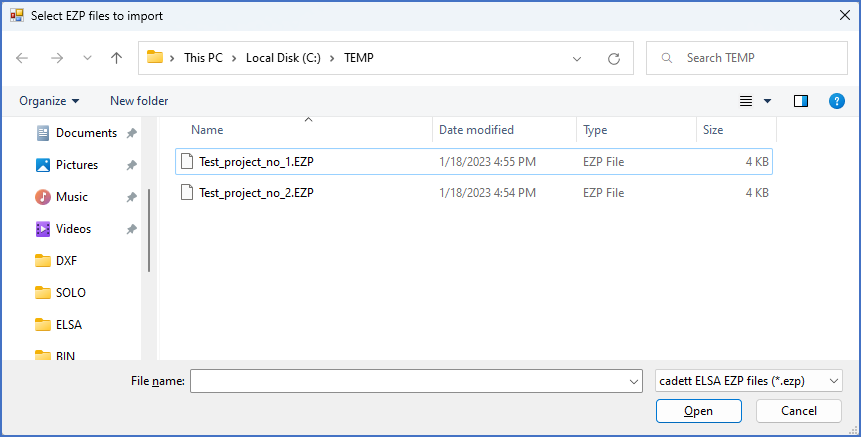
When you do, a standard Windows file selection dialogue box will be displayed, as shown in the figure below.

Figure 180: A file selection dialogue like this one is used to select EZP files that should be added to the list. This example is from an English Windows 11. In other operating systems, the dialogue might look somewhat different.
You navigate to the directory where your EZP files are located, select them, and then click the Open button.
The selected EZP files will be displayed in the List of selected EZP files.
If you want to import EZP files from multiple directories at once, you can simply repeat the process by clicking the Select/add EZP files button again, and select EZP files from another directory.