|
<< Click to Display Table of Contents >> Select directory to save the EZP file in |
  
|
|
<< Click to Display Table of Contents >> Select directory to save the EZP file in |
  
|
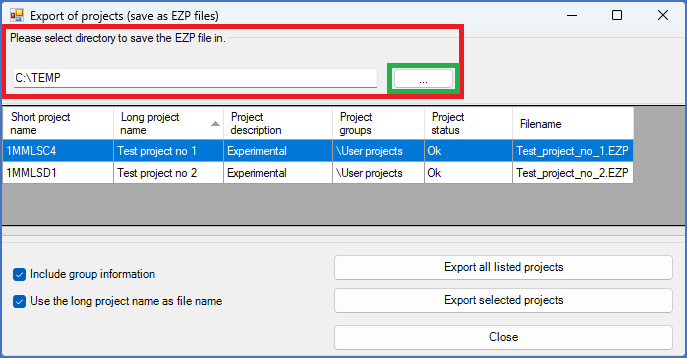
In the top of the dialogue box, marked with a red box in the figure below, you can specify where the EZP files will be saved.

Figure 167: A suitable directory to save the EZP files in is selected, one way or the other, in the marked part of the dialogue.
You can either type a complete path including drive letter and directory name, or make a selection using the select button to the right, marked with a green box in the figure above.
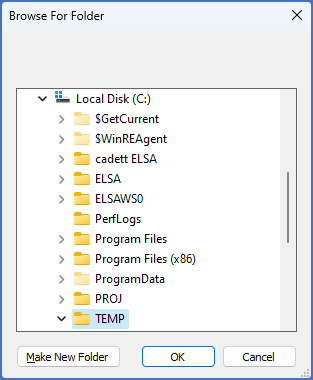
If you click the select button, a special Browse For Folder dialogue box will be displayed, as shown in the figure below.

Figure 168: The "Browse For Folder" dialogue is used to select in which directory to save the EZP files.
Using that dialogue, you can select a suitable directory to save the EZP files in.
With the Make New Folder button in the lower left corner of the dialogue, you can create a new directory to place the EZP files in, if a suitable one is not already available.