|
<< Click to Display Table of Contents >> Check-out for TRAVEL (legacy) |
  
|
|
<< Click to Display Table of Contents >> Check-out for TRAVEL (legacy) |
  
|
Before you start the process of checking-out projects from the server installation, please make sure that you have a suitable directory available for the EZP files that will be checked-out and later imported to the local installation.
If possible, the directory in question should be directly accessible for the local cadett ELSA installation, for instance in a directory on the local hard disk. If the workstation in the network installation is not on the same computer as where the local installation is located, you might need to place the EZP files in a directory on the server. You might even have to place them in a temporary directory from where you copy them to the local hard disk of the local installation, depending on how you access the workstation in the network installation. Maybe you even have to call a colleague and ask for assistance with the check-out, if you cannot access a workstation in the network yourself. Perhaps you then need to transfer the EZP files using e-mail or other means. When the question of the directory for the EZP files has been sorted out, you can continue with the actual check-out.
First - in one way or the other - start a workstation in the network installation.
Then select the projects that you want to check-out. Right-click the selection. In the context menu, select Legacy TRAVEL and then Check-out for TRAVEL (legacy)..., as shown in the figure below.
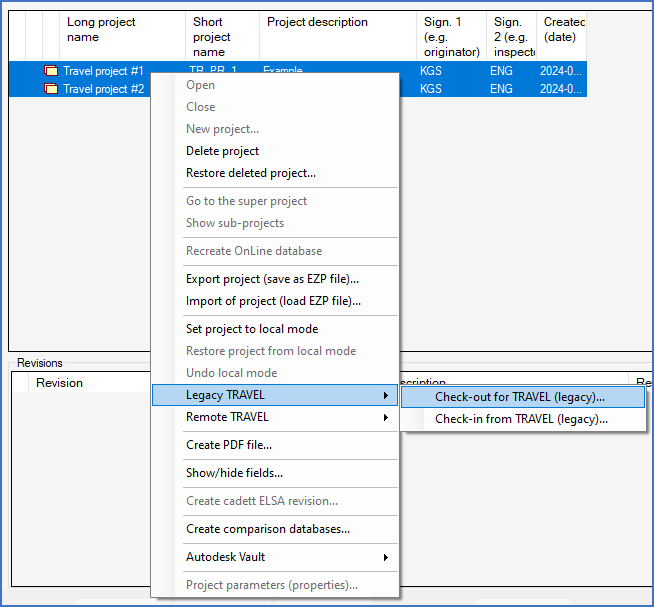
Figure 222: Select the projects that you want to check-out, right-click, select "Project travelling" and finally "Check-Out for Travel" in the context menu.
A dialogue box like the one shown in the figure below is displayed. In that dialogue box, you select the directory that should be used for the EZP files that will be created.
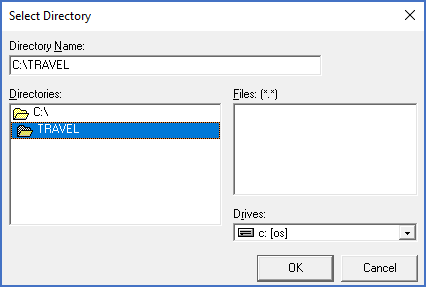
Figure 223: A temporary directory, in this case called "C:\TRAVEL", is used for transferring EZP files.
In the example shown above, a directory called C:\TRAVEL is selected. If the workstation for the network installation and the local installation are located on the same computer, that is a logical choice.
When you click Ok in the Select directory dialogue box, the check-out process will start. It might take some time, depending on the number of projects, the size of the projects, the location of the selected directory, and the performance of the involved hardware. The progress bar in the status bar will inform you about how far the process has come.

Figure 224: The detailed projects list that is shown here contains two projects that have both been checked-out for legacy TRAVEL.
When the check-out is finished, the projects that you selected are checked-out, meaning that they are locked in the network installation, and you have EZP files for them in the directory that you chose. The figure above show how checked-out projects look in the Project module. An icon that depicts a suitcase symbolises "Travel", and a second icon depicting a red filled circle informs that the projects in question are locked.
In the chosen directory, you will have newly created EZP files.
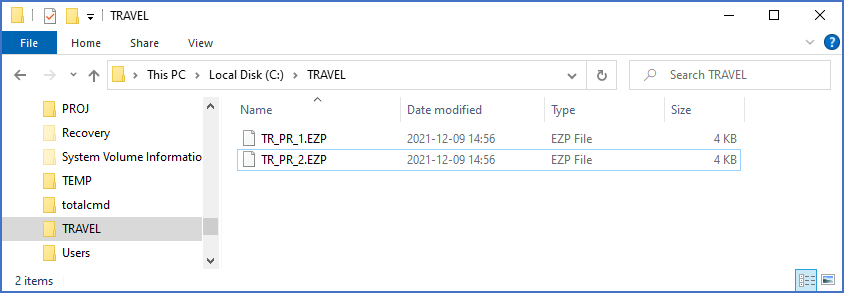
Figure 225: The checked-out projects are available as EZP files.
You can then exit the network workstation.
If the local cadett ELSA is located on another computer, additional actions like copying or similar might be necessary, as described above.
Next, start the local cadett ELSA. Without selecting any projects, right-click in the detailed projects list and select Import of project (load EZP file)..., as shown in the figure below.
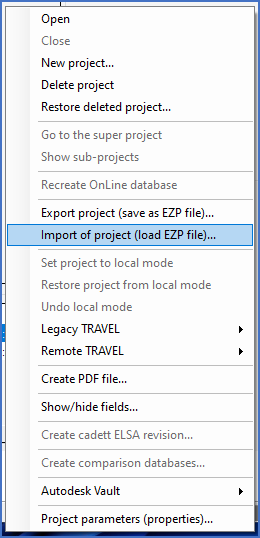
Figure 226: The "Import of project (load EZP file)..." command
In the main Import of project (load EZP file) dialogue, which is shown in the figure below, click the Select/add EZP files button in the upper left corner of the dialogue.
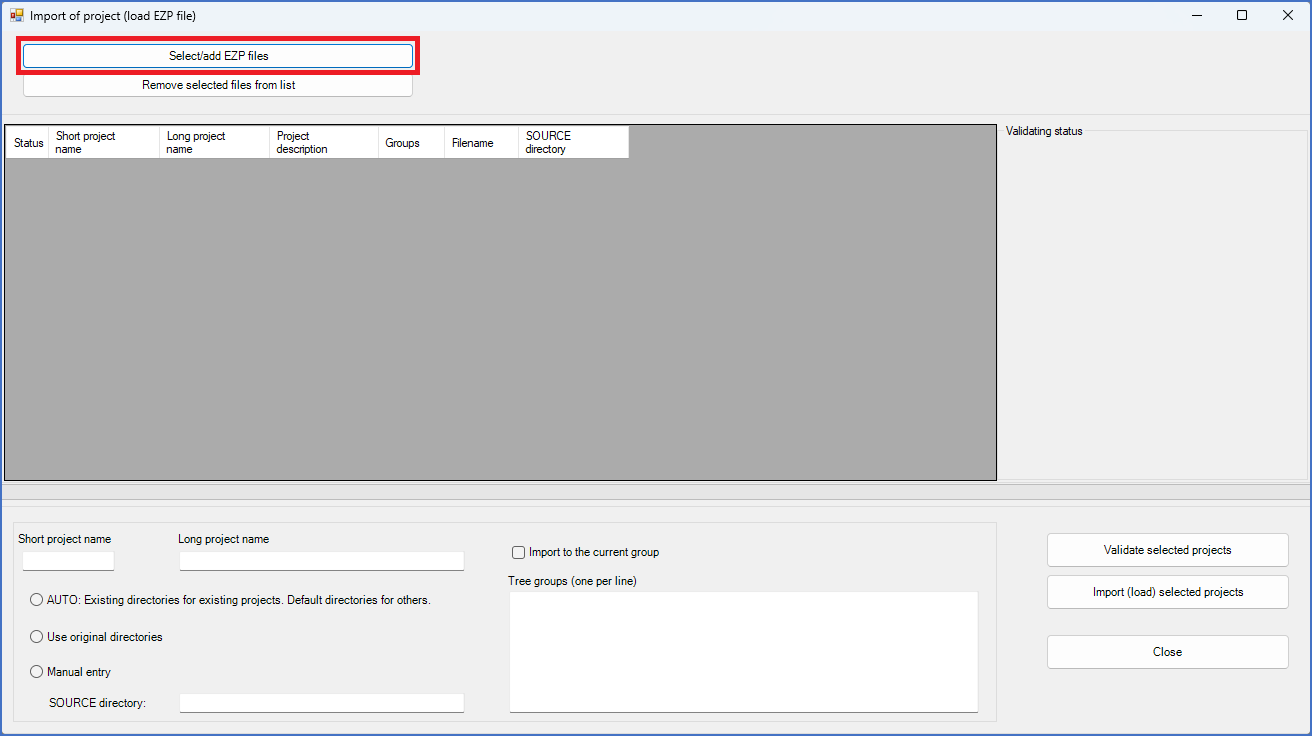
Figure 227: Click the "Select/add EZP files" button.
A file selection dialogue box will then be displayed. Use that dialogue to navigate to the directory where you saved the EZP files for the checked-out projects. Then select them, and click Open. Please refer to the figure below.
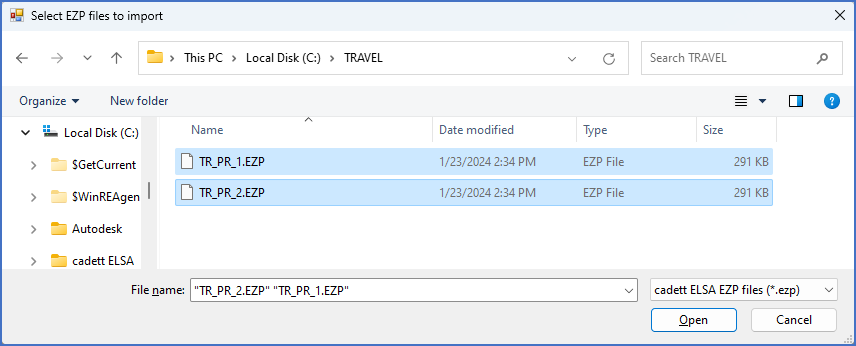
Figure 228: Select the EZP files of the checked-out projects and then click "Open".
The main Import of project (load EZP file) dialogue will then display the checked-out projects, as shown in the figure below.
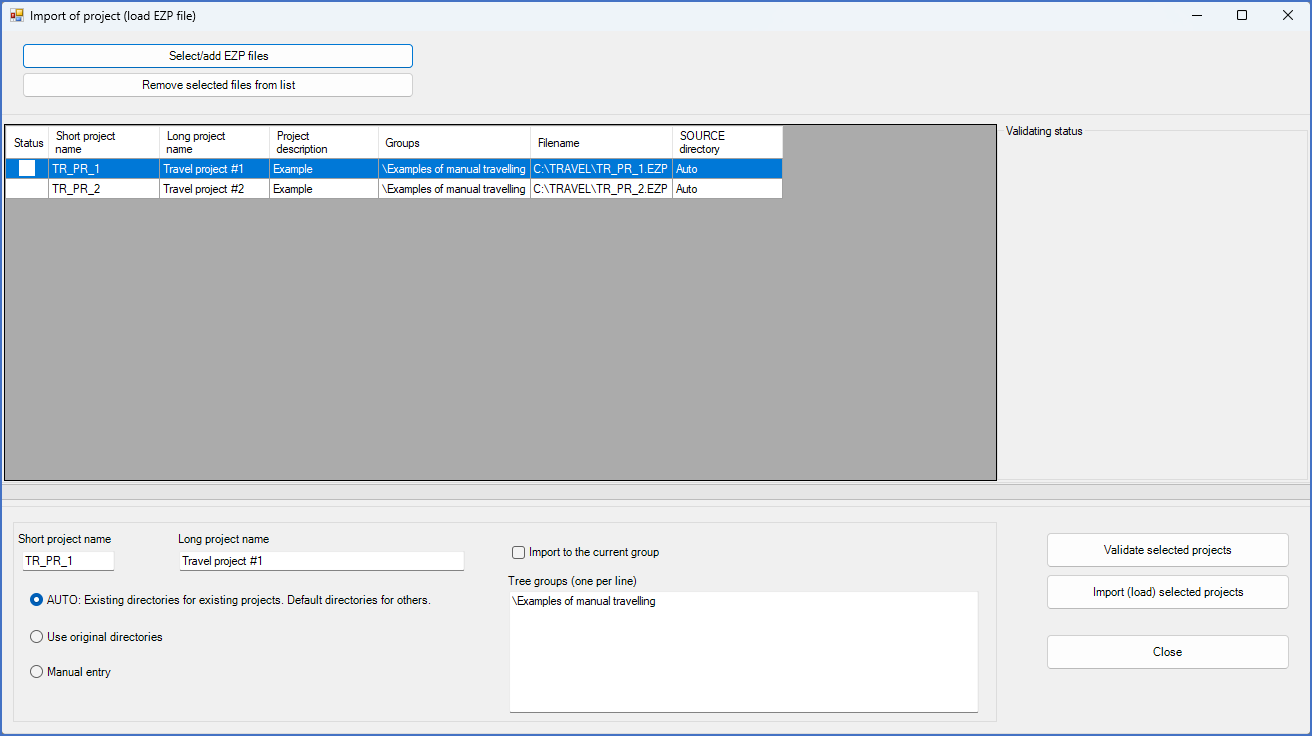
Figure 229: The projects that were previously checked-out, are displayed as shown here. Adjust the settings, validate, select the projects in the list, and finally import using the "Import (load) selected projects" button.
Activate AUTO: Existing directories for existing projects. Default directoried for others. as shown in the figure above.
If you want the projects to be placed in the same position in the tree structure in the local installation as in the network installation, please uncheck Import to the current group.
Select all projects that you want to import, in this example both projects in the list, as shown in the figure below.
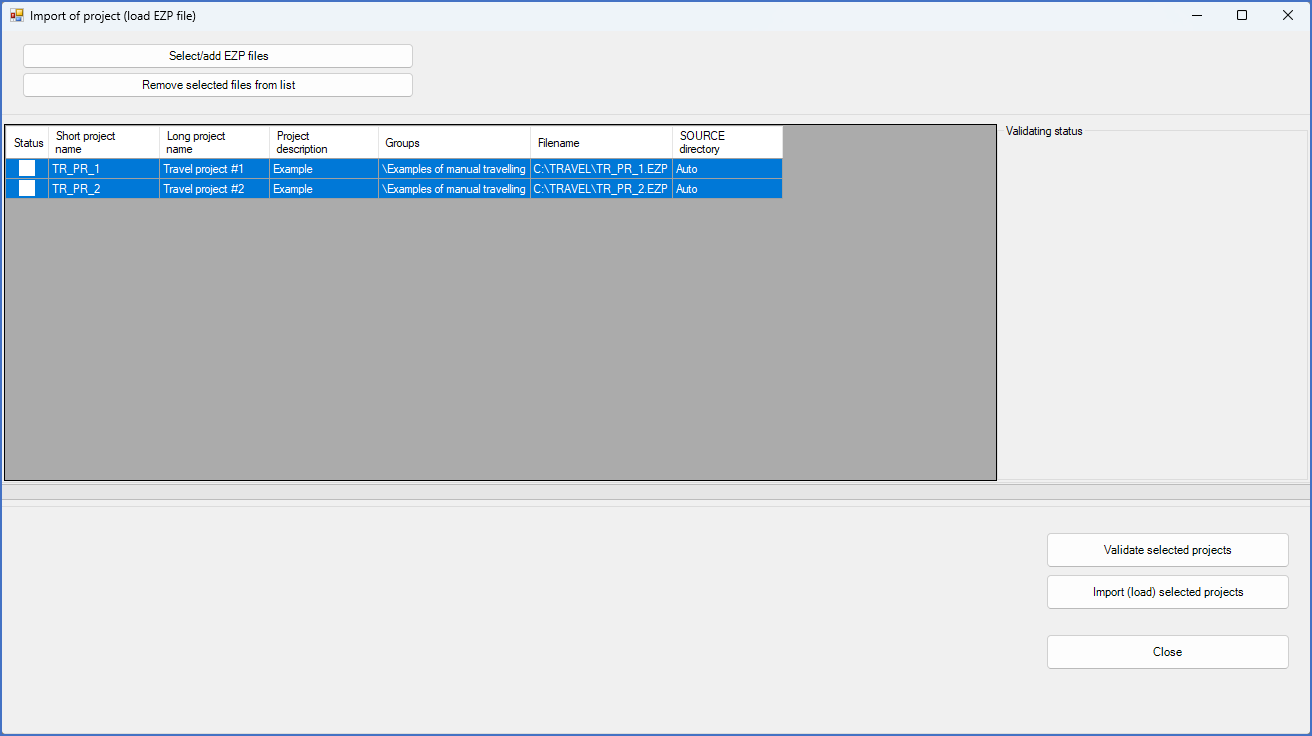
Figure 230: In the list of projects that is displayed as shown here, select the projects that you want to import. Then validate them.
Click the Validate selected projects button to make sure that everything will turn out for the best. The figure below shows a successful result of the validation.

Figure 231: All selected projects have been successfully validated.
Click the Import (load) selected projects button to start the import.
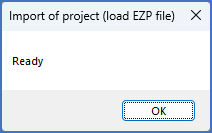
Figure 232: This message box confirms that the projects have been imported.
The projects are then ready for you to work with.
Please do with them what you had planned to do, and then prepare for export and check-in to the network installation. The next sub-topic will discuss that process. Please use the following link for a detailed description of that.
The Backup and restore (EZP) feature that is used in the local installation for import and export during manual travelling is described in all details in a separate topic, which you can reach using this link.
Please note that a much more convenient travelling method is available in cadett ELSA Enterprise. That feature is called Remote travelling.