|
<< Click to Display Table of Contents >> Import (load) selected projects |
  
|
|
<< Click to Display Table of Contents >> Import (load) selected projects |
  
|

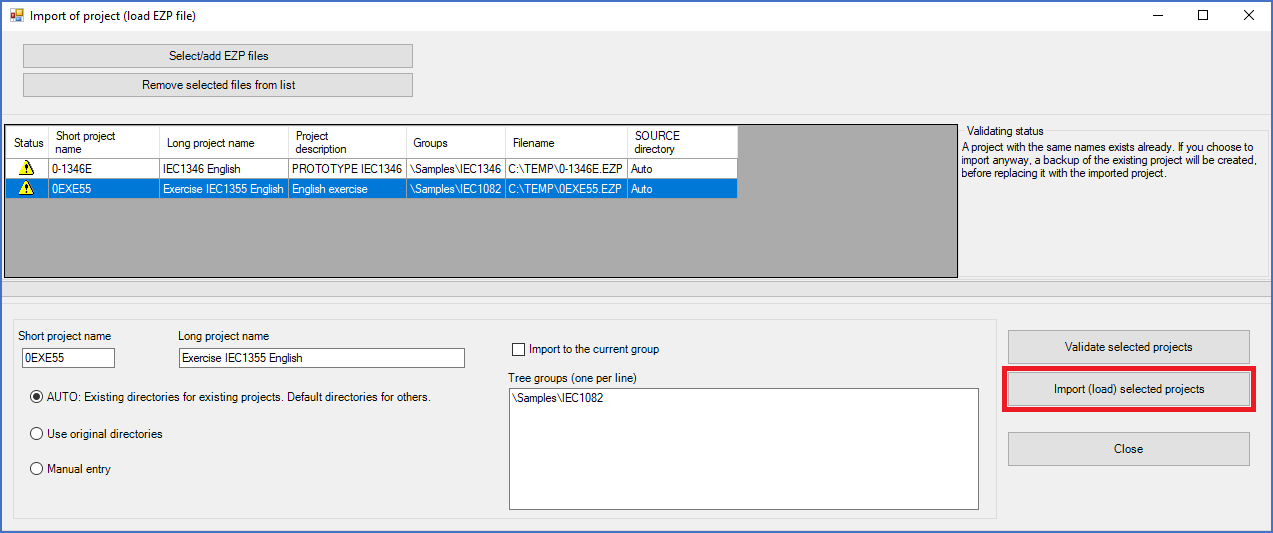
Figure 188: You start the import process for one or many selected projects using the "Import (load) selected projects" button shown here.
To start the import process, you first select the projects to import in the list. Thereafter, you click the Import (load) selected projects button to the right in the dialogue, as shown in the figure above.
All selected projects will then be imported. It is therefore important to make sure that you have selected the correct ones before you click the button. Not least important is to make sure that you do not select projects that you do not want to import.
If a project with the same name as an imported project already exists, that project may be over-written. The details about that are explained in a separate sub-topic named Over-writing existing project.
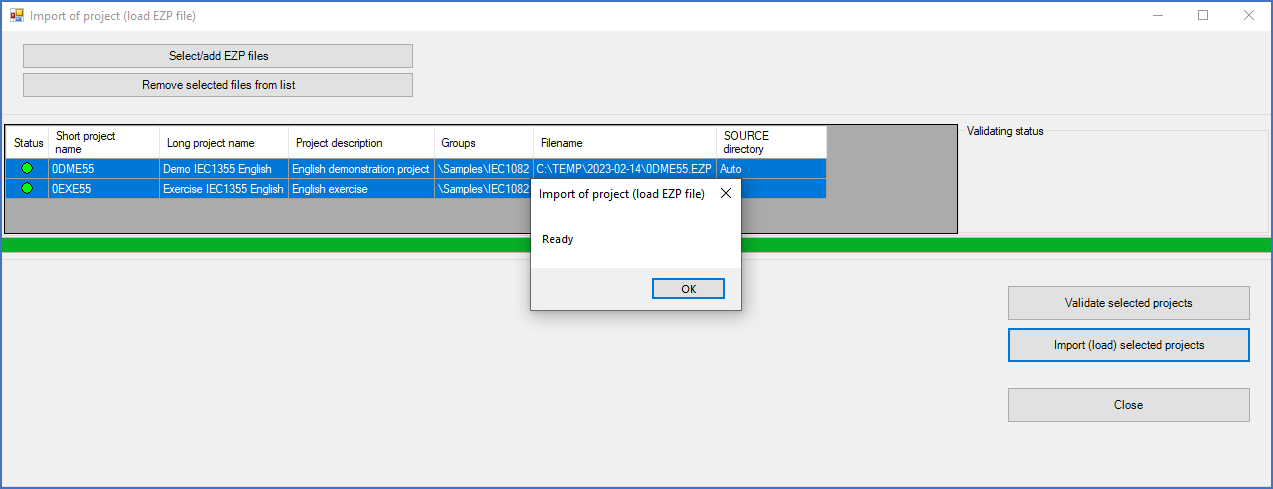
When the import is finished, a receipt in the form of a dialogue box confirms that the projects have been imported (loaded).

Figure 189: A dialogue box like shown here confirms that the import process is finished.