|
<< Click to Display Table of Contents >> Check-out from server... |
  
|
|
<< Click to Display Table of Contents >> Check-out from server... |
  
|
Remote TRAVEL Check-out from server... is a convenient single step process, which is started from the local installation of cadett ELSA that is used for remote work.
To check-out a project that you have not checked-out before, start by right-clicking "in open air" in the detailed projects list, meaning that you right-click without first selecting any project. In the context menu, select Remote TRAVEL and Check-out from server..., as shown in the figure below.
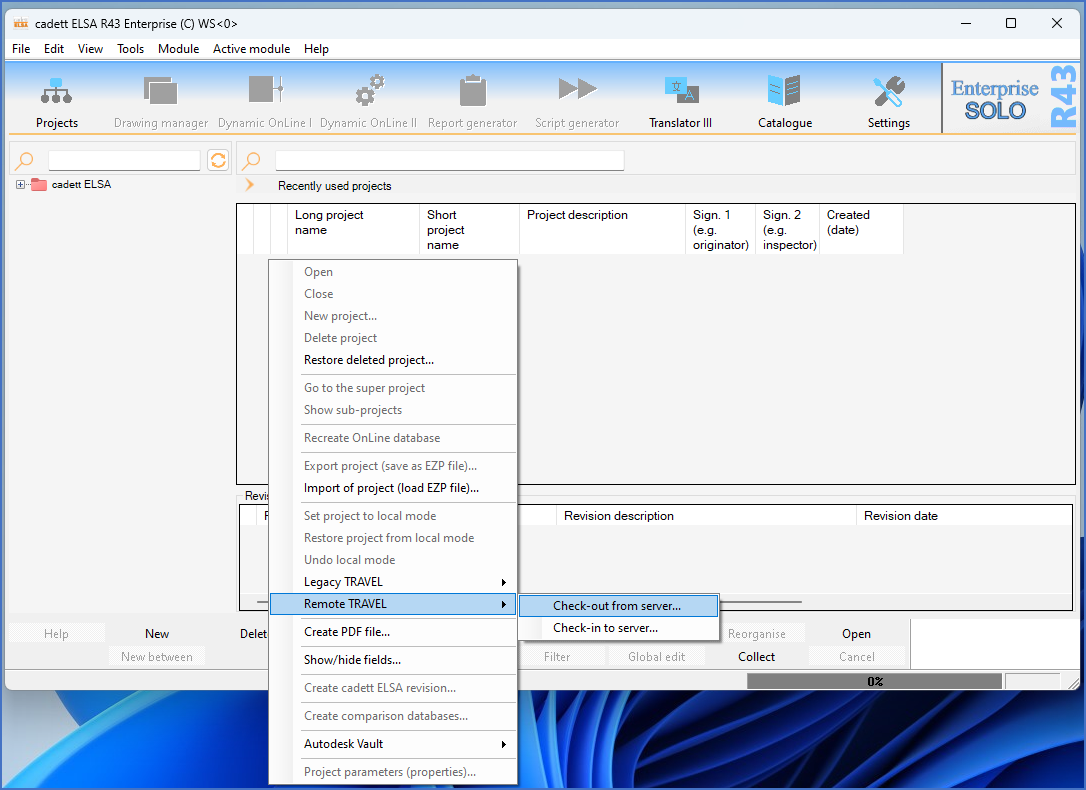
Figure 242: To check out projects that you have not checked out before, right-click without first selecting any projects, select "Remote TRAVEL" and then "Check-out from server".
To be able to get a list of available projects, and then transfer one of them, an IP link to the server must be established. Please enter the IP address of the server in the dialogue box shown in the figure below. (The next time you use the same feature, the previously entered IP address will be default).
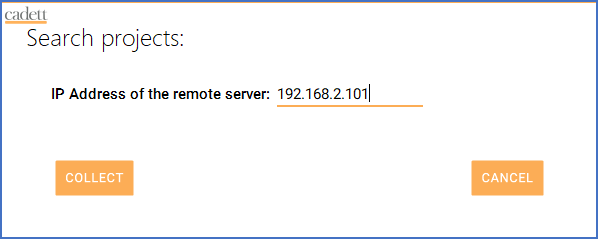
Figure 243: If the IP address of the server has not been entered, please enter it. Then click the "COLLECT" button.
Click the COLLECT button to the left.
If the communication fails, for instance if the IP address in incorrect, an error message will be displayed.
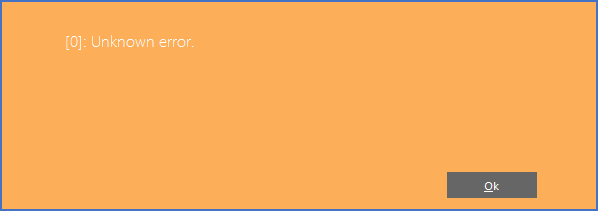
Figure 244: If the communication fails, an error message will be displayed. This is an example of such an error message.
If the communication is successful, a list of available projects will instead be displayed.
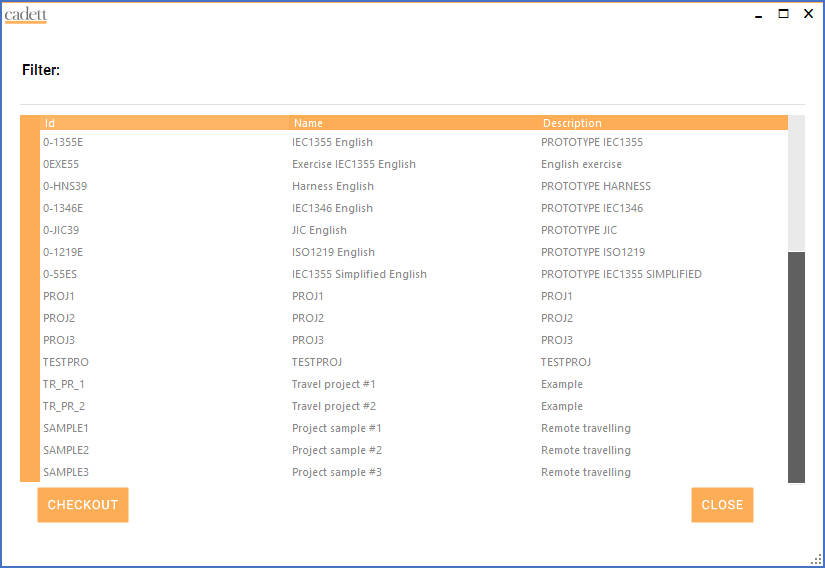
Figure 245: A list of all available projects on the server is displayed.
The list of projects might be very long. To limit it, you can use a filter, that you specify in the Filter field in the upper left corner. You can enter any text, like shown in the figure below. Only projects where the entered filter text is part of project name or description will be displayed.
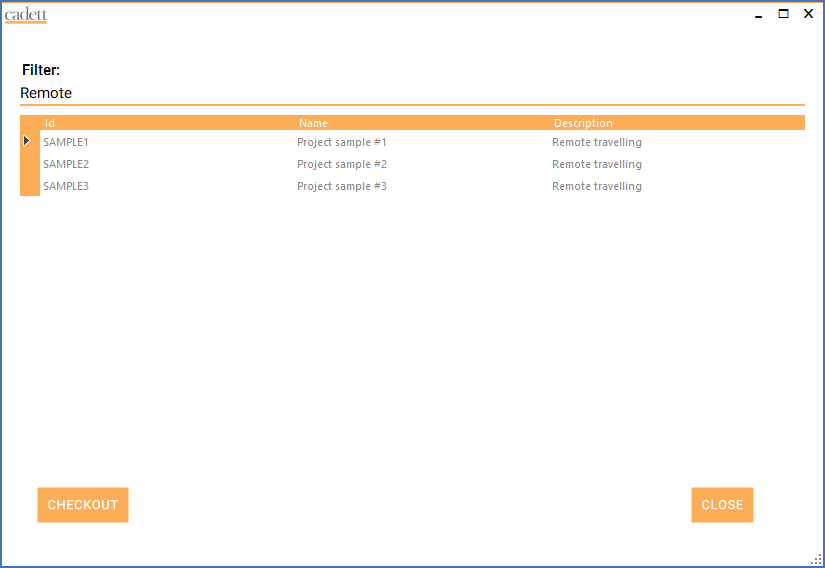
Figure 246: A filter can be used to easily limit the length of the project list.
Select the project that you want to check out from the server, and then click the CHECKOUT button.

Figure 247: The project is packed on the server and then transferred to the local installation.
The selected project will be transferred to the local installation, locked on the server and put in a special status in the local installation as a remotely checked-out project.

Figure 248: The project has been checked-out and is here shown with the special icon that clearly states that it is indeed a checked-out project. The suitcase is in the background!
If you want to check out additional projects, you simply repeat the procedure. (In the figure above, two projects have been checked-out, in the described way).
As you can see in the figure above, a project that has been checked out from the server, has a special icon, making it obvious for anyone that it is not a locally created project.
You work with the checked-out project as with any other project. When you are ready with whatever you needed to do, it is time to check-in the project again. Please refer to the Check-in to server... topic for a detailed description of that.