|
<< Click to Display Table of Contents >> Through the project parameters |
  
|
|
<< Click to Display Table of Contents >> Through the project parameters |
  
|
The primary placement of the algorithm assignments is in the Connection 1 (general and terminals) tab of the project parameters. To access them that way, in the Projects module, right-click the project in question and select Project parameters (properties). Then select the Connection 1 (general and terminals) tab.
As a good example, you can check this the Demo IEC1355 English project, which is found in the IEC1082 group under Samples in the tree structure. That project has a complete assignment.
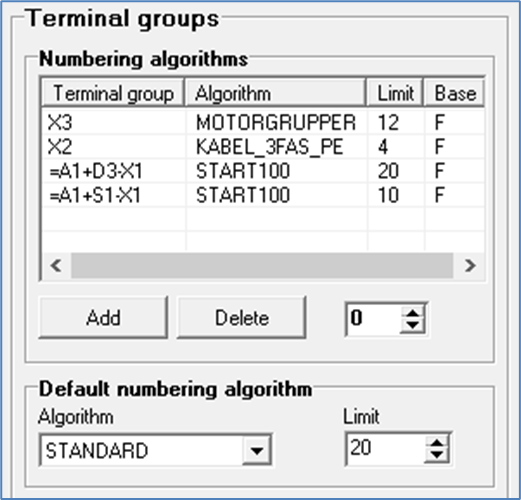
You will find the Numbering algorithm assignment in the upper right corner of the tab in question, as shown in the figure below.

Figure 1618: Algorithm assignments in “Demo IEC1355 English”
New rows in the assignment table can be inserted using the Add button.
Rows in the table can be removed using the Remove button.
After you have clicked the Add button, you must enter a Terminal group name in the first column. Please note that you can do that in two separate syntaxes that are described in the Syntax for terminal group names topic.
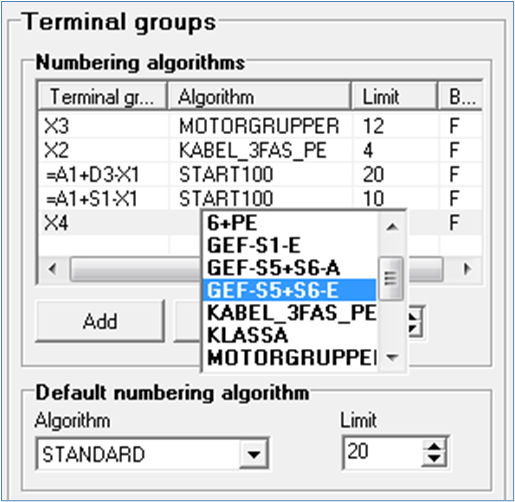
As the second step, you must select a Numbering algorithm. In the Algorithm column, a drop-down list with all available numbering algorithms is available. Please refer to the figure below, which shows you have that looks. Select the algorithm that you want to use.

Figure 1619: Selection of Numbering algorithm
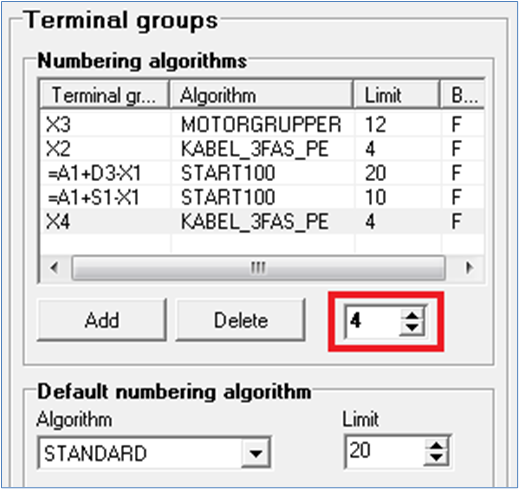
As the third step, you must specify the Limit. You do that in the Limit column. Please refer to the figure below.

Figure 1620: Specification of Limit
If you would like to change something in an existing table, you do that directly in the table, in the same way as when creating a new row.
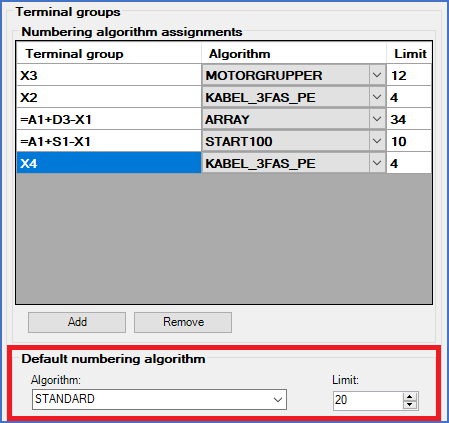
Finally, you can specify a Default numbering algorithm below the table. That is a numbering algorithm that should be used for all terminal groups that are not included in the table. A Limit for them is specified to the right.

Figure 1621: "Default numbering algorithm"
A more detailed description of Numbering algorithm assignments is found in the Project parameters sub-topic of the Projects module topic, and more specifically in a sub-topic named Numbering algorithm assignments.