|
<< Click to Display Table of Contents >> Edit wire-chain |
  
|
|
<< Click to Display Table of Contents >> Edit wire-chain |
  
|
The Edit wire-chain command offers a very convenient way of editing a specific wire-chain by simply clicking one of the lines that belong to it.
When working with your circuit diagrams, you sometimes run into a need of making adjustments in the wiring, here and there. Typically, you would then enter the wire-list and there navigate to the affected wires. However, especially in large projects, it can sometimes be a bit tricky to do that, and it can take some time to find what you are looking for. The Edit wire-chain command solves that problem, by automatically presenting the correct wires, and only them, on the screen. This will save time for you.

Figure 2194: The "Edit wire-chain" command
Start by selecting the Edit wire-chain command, as shown in the figure above. You find it in the Dynamic Tools panel of the Tools tab in the ribbon menu.
You will then be asked to select a line. Simply left-click one of the lines that belong to the wire-chain that you want to edit, as shown in the figure below.

Figure 2195: After selecting the command, select a wire-chain to edit, as shown here.
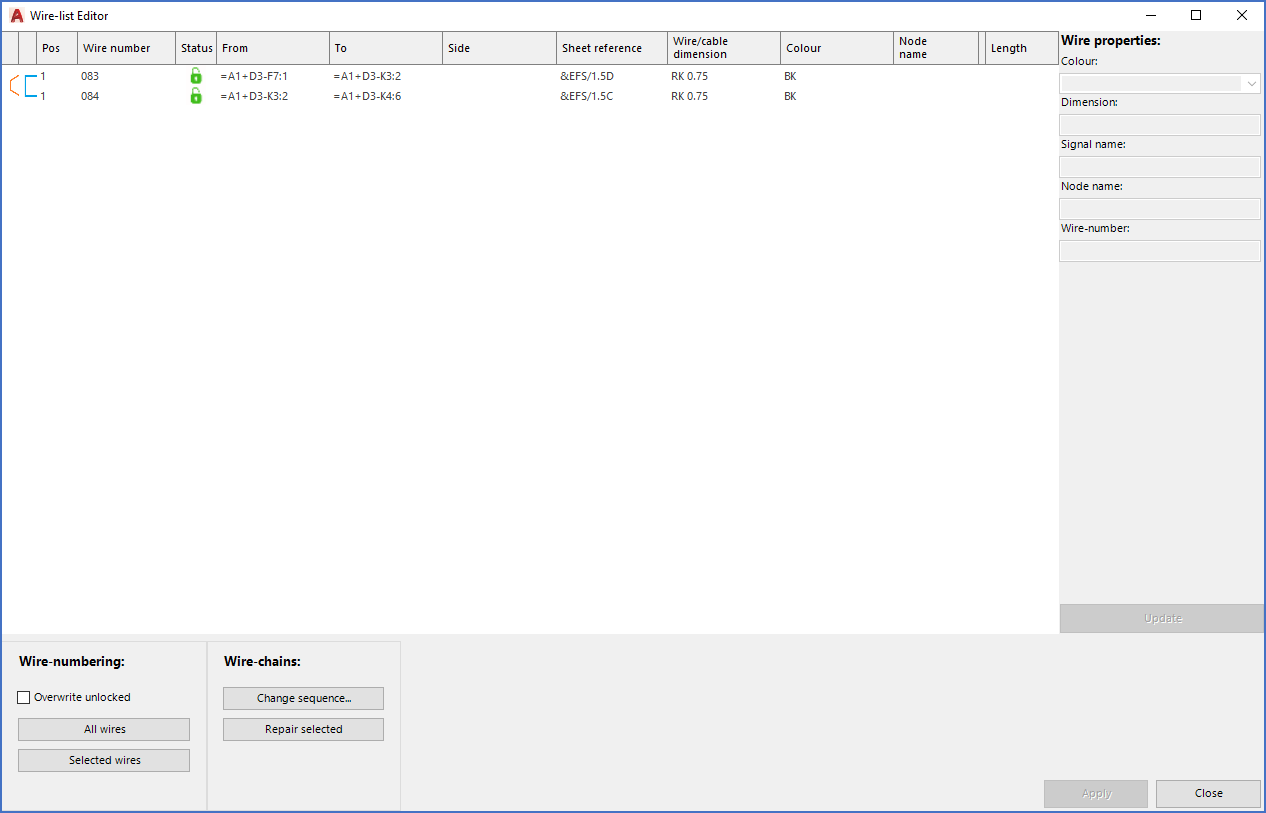
The Wire-list Editor will then be immediately invoked with the wire-list automatically filtered to only display the selected wire-chain, thereby effectively eliminating any difficulties to find your way in the wire-list. You can therefore start your editing right away, without delays.
Please refer to the figure below, which shows how the wire-chain that is selected in the figure above, is displayed in the wire-list.

Figure 2196: The seleced wire-chain is presented for editing.