|
<< Click to Display Table of Contents >> Add fields |
  
|
|
<< Click to Display Table of Contents >> Add fields |
  
|
Adding a field, means that a new column is added to the detailed projects list.
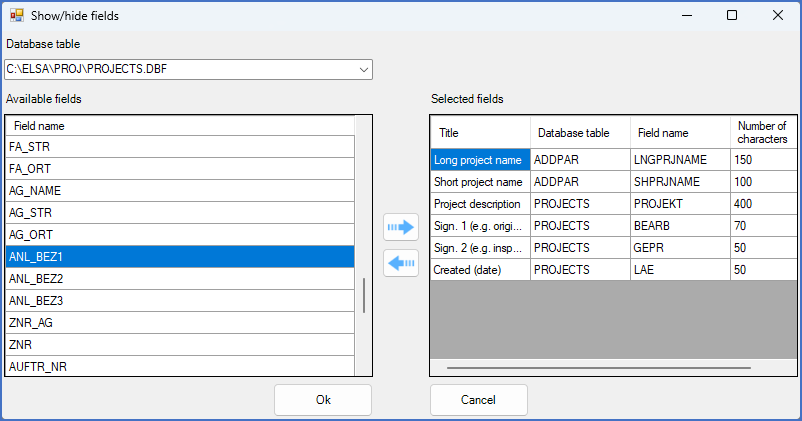
To add a field, you select a proper field in the Available fields list to the left.
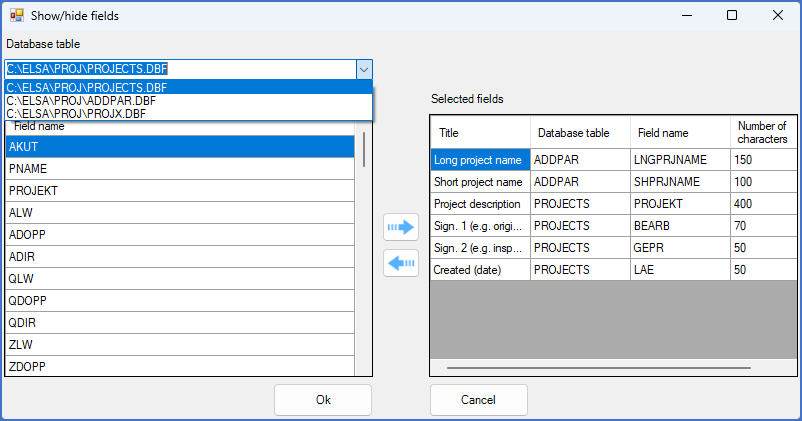
Please note that you have four database files to select fields from. Which projects database file you select from, is decided using the Database field in the top left of the dialogue box. A drop-down list is available to do that selection. Please refer to the Additional fields suitable for presentation sub-topic for a list of typical fields and information of which database file they belong to.

Figure 207: The drop-down list in the Database field in the top left is used to decide which database file to select fields from.

Figure 208: Begin the process of adding a field to the detailed projects list by selecting a suitable filed in the "Available fields" list.
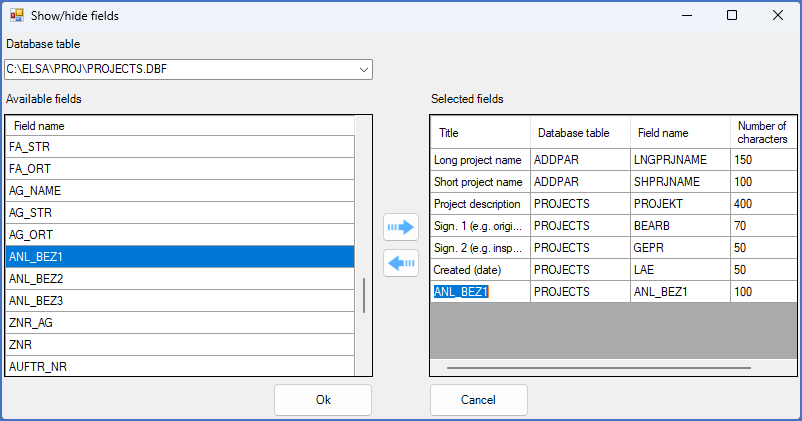
After selecting a proper field in the Available fields list, you click the right-arrow button between the two lists. The selected field will then be added to the Selected fields list.

Figure 209: A new field has been added. Please note that the default title is created from the field name. Changing it to something more user-friendly is recommended.

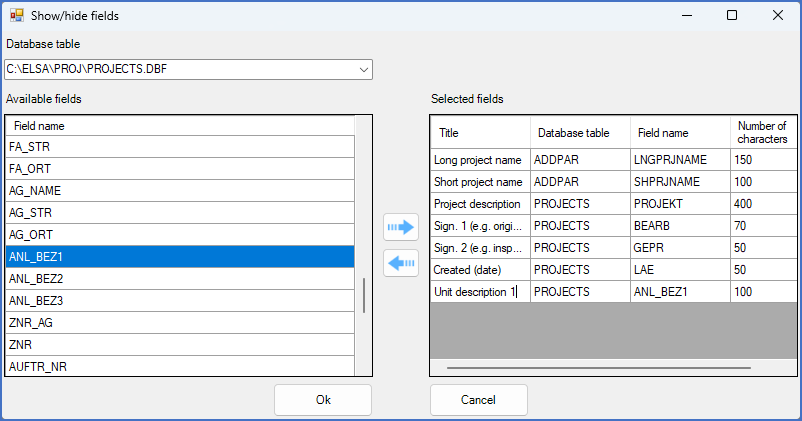
Figure 210: A user-friendly title is added. When clicking Ok, the configuration takes effect.

Figure 211: A new column has been added. In this example, the first unit description is presented in the last column.