|
<< Click to Display Table of Contents >> Insert function object for cable core |
  
|
|
<< Click to Display Table of Contents >> Insert function object for cable core |
  
|
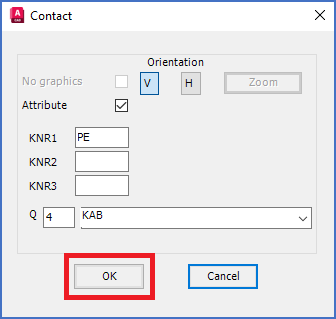
Figure 1063: The "OK" button
After clicking the OK button, as shown in the figure above, you are asked to insert the function object in a suitable position. When you have done that, you return to the Contact dialogue box, where you can define the next cable core.
If you have already defined all the cable cores you want to have, you should use the Cancel button.
Positioning the function object may be somewhat tricky, but it is easy to adjust afterwards. Therefore, please give priority to being consistent, rather than precise. If you do, you can easily adjust all cable cores in one single operation, after you have defined them all.
The figures below give a fine example of how you can position the function objects and then adjust both cable core numbers and cross-references.
The example incorporates graphics in the form of a simple "fork", which is one common way of drawing a cable mirror.
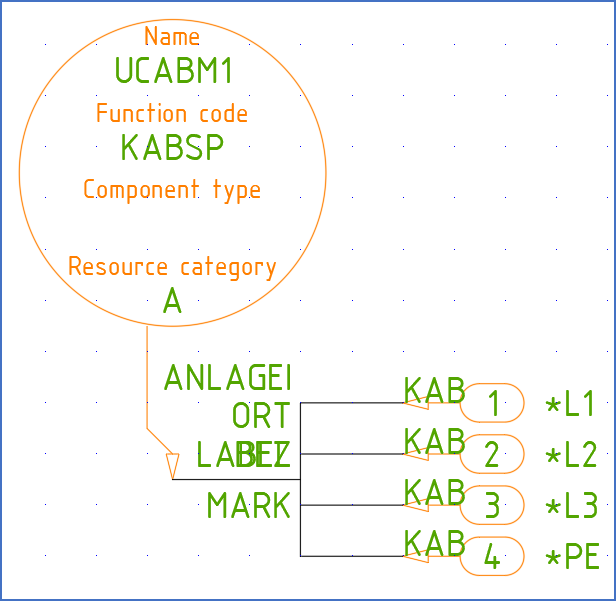
Figure 1064: The cable mirror has been drawn as a simple fork. The function objects have been inserted in the end of the tines of the fork.
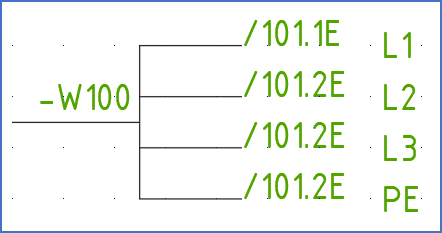
Figure 1065: This is the result when saved as shown in the figure above, which is obviously not perfect. Both cable core numbers and cross-references could have been positioned in a better way.
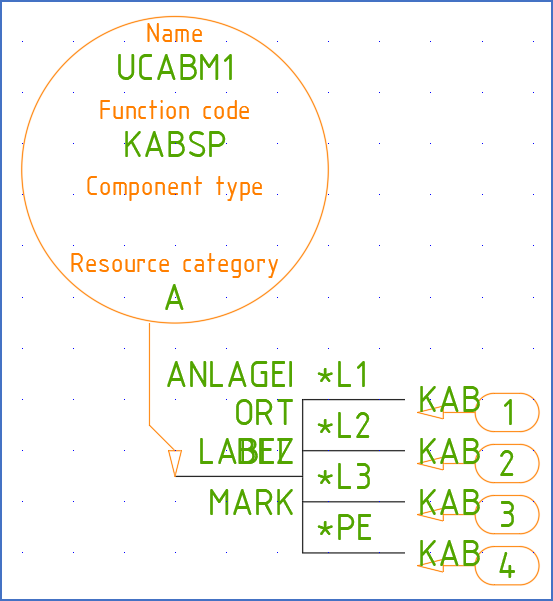
Figure 1066: The function objects have been moved down and right 1.25 mm in each direction using the MOVE command. Then, the cable core numbers have been repositioned using the Attribute Tool.
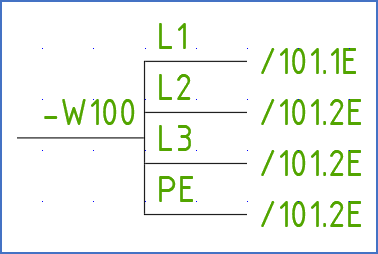
Figure 1067: The result is now much better.