|
<< Click to Display Table of Contents >> The rows of the terminal list |
  
|
|
<< Click to Display Table of Contents >> The rows of the terminal list |
  
|
The basic principle for a terminal list, is that there is one row for each terminal. Since it is common with two connections on each side of a terminal, at least in northern latitudes, each terminal occupies two rows, but those two “sub-rows” are kept together graphically as a single “terminal row”.
More than two connections per terminal side may also exist, even if that is less common. That situation is also supported by the terminal list of Dynamic OnLine I. In that situation, additional rows will automatically be added for the terminal in question, so that all connections are presented in a correct manner.
A few presentation tricks are used to clearly show where one terminal ends and the next one begins. Those tricks are described in the table below.
Trick |
Description |
|---|---|
Icon |
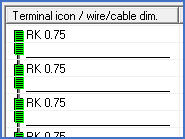
In the first column, graphical icons that symbolise the individual terminals are shown. These icons show where one terminal ends and the other begins with all desirable clearness.
 Figure 1470: Terminal icons
|
Item designation, terminal |
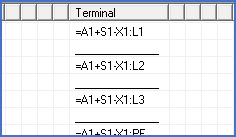
The item designation for each terminal is only displayed once. In all rows for the same terminal, except for the first one, this column is blank. This further enhances the distinction between individual terminals.
 Figure 1471: Item designations
|
Horizontal line |
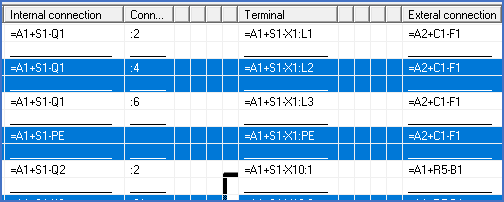
In all empty fields in the last sub-row for each terminal, a horizontal line (underline) is shown. That also enhances the distinction between the next terminal and the current one.
 Figure 1472: Please note the horizontal lines!
|
Pyjamas |
If the above-described graphical stunts do not make you feel convinced of where the terminals begin and end, there is an even more powerful tool available. If you right-click in the terminal table and select the Separate terminals command. a “pyjamas pattern” will be displayed, which shows the distinction between the terminals even clearer. That ought to make even the blind see the difference.
 Figure 1473: The separate terminals feature
|