|
<< Click to Display Table of Contents >> General information |
  
|
|
<< Click to Display Table of Contents >> General information |
  
|
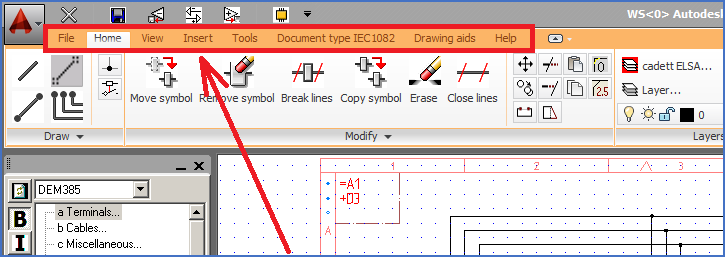
The ribbon menu system that is enabled with the cadett ELSA Ribbons workspace, consists of eight “tabs”. Each one of these tabs, in turn, consists of a number of “panels”.
That basic composition of the entire menu is described in general terms here.

Figure 724: Here you can select one of eight available "tabs".
The most important tab is probably the one named Home. That is where you start.
The Home tab consists of 5 panels:
•Draw
•Modify
•Layers
•Text and attributes
•Utilities
The names of the panels are shown in so-called “panel titles” in the bottom of each panel.

Figure 725: The “Home tab” consists of 5 “panels”, marked in red above
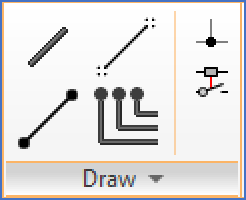
Let’s first focus on the first panel, the one called Draw. The picture below shows it in detail.

Figure 726: The “Draw” panel before sliding it out.
The most important commands are shown with big icons and directly visible, like Line and Xline in this example. The second most important commands, like Donut in this example, are also directly visible, bit shown with smaller icons.
The third most important commands are not directly visible. Instead you can “slide-out” the panel to view these commands. Panels where this is possible are called “slide-out panels”. An arrow in the middle of the panel title, like in Draw panel above, indicates that you can slide-out the panel by clicking the panel title bar. If there is no such arrow, the panel cannot be extended in that way.
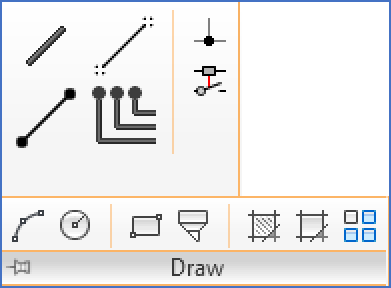
By default, a slide-out panel automatically closes when you click another panel. To keep a panel expanded, click the push pin in the bottom-left corner of the slide-out panel.

Figure 727: The “Draw” panel after sliding it out.
Above you can see that commands like Arc and Circle are then visible for you to select.
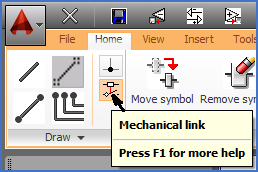
If you are unsure of the meaning of some icons – which is probably a very common problem when you are unused to the new menus – you can simply place the cursor above the command in question and a tooltip will be displayed.

Figure 728: A tooltip explains what the icon means.
In this way all tabs and panels are composed.
The structure of the entire menu is described in the following sub-topics.